
FFmpeg for the Young and Restless
Published:
A blog on getting started with FFmpeg for ML Engineers.
Introduction
You have heard of ffmpeg somewhere. It could be on a random Twitter thread, in the bylines of a Hacker News post, perhaps TBPN, or while you were doing a pip install of your favourite library. You should know that it has something to do with assembly-level programming, a command-line tool, and only for image/video processing. You might even be a little terrified of thinking about using it, because it seems like a “specialist’s tool”. But nothing could be further from the truth.
This blog is relevant for you if you’re in a similar place as I am. If you fit any of these, read on.
- You are working with Image/Video data
- You are training models or fine-tuning them
- You are terrified of slow
tqdmprogress bars - You want to speed up your processing pipelines
I must let the reader know that this blog will read best from the perspective of someone who has some basic knowledge of Machine Learning and Image/Video data processing pipelines. For brevity, I will stick to only introducing the ffmpeg CLI while there are tons of downstream ffmpeg toolchain bindings and libraries for different languages available.
Why learn it in this day and age?
ffmpeg is ubiquitous. You don’t need to learn it, mainly because almost every tool you use already utilizes ffmpeg under the hood. OpenCV? Yes. VLC Media Player? Yes. PyTorch1 ? Yes. Google Chrome? Yes. You get the point.
Most of the software you touch and any image/video you look at, chances are that it has been touched at some point from its inception by a ffmpeg tool.
You want to learn how to use ffmpeg for the same reason you don’t want to use a ChatGPT or Gemini wrapper. Because you inherently are looking for the speed benefit that wrappers tend to eat up as overhead. Because you are working with a huge amount of data and a per-sample-improvement of 0.1% can mean the difference between a successful and failed project.
I’ll be honest. The tool terrified me. When I first heard of it, I wrote it off as something only specialist engineers use, who know what they’re doing. I started using it as part of a project I was working on, where my manager was using it as if it was an everyday thing as common to use as cd or ls.
Having used it for just 2 months now, I can confidently say that while I’m not an expert, at least I can help someone else get started with it too.
What is ffmpeg?
It is, essentially, a tool that allows you to cut, edit, encode, decode, manipulate and transcode any video or image-sequence available to you. This is done with the help of a few underlying C libraries such as libavcodec, libavformat, libavfilter, libavutil, and more. These are individual libraries that handle one specific set of activities under the API, and can also be used directly inside a C function as needed.
ffmpeg has been completely free and open-source since its inception, and is used across several industries especially for the handling of complex multimedia files. When compiled with all options, ffmpeg can allow you to handle virtually any video filetype in the world and do things like cropping, converting, replication, morphology, slicing, and scaling among many others. A lot (actually, almost all) of the things that most of us have come to use OpenCV for, can be done through ffmpeg as well.
Programming Model
ffmpeg is best understood through the idea of pipelines. You can take in multiple inputs, perform complex operations with a combination of these inputs, and then create multiple outputs from there at once.Consider them very similar to a data augmentation pipeline, or even in some principles to a neural network forward-pass. All you’re doing is just passing several inputs in through several functions and getting an output.
Swiss-Knife of Audio/Video Processing - Common Operations
For this entire experiment, I’m going to use this video as an example (it is no-copyright, from YouTube) that is of an original 720p resolution. Let’s see what we can do with it.
Converting video formats
One of the simplest things you can do is convert the video from one format to another. Let’s say, we want to convert this mp4 file to an avi file. To do that, we can simply use the command
ffmpeg -i ffmpeg_video_no_copyright.mp4 output.avi
Based on the video2 that is 5:21 minutes long, it took us just 3 seconds to convert it. On average, using an online tool will take so much more longer (notwithstanding your ability to find one that doesn’t have ads or spam).
To know the formats you can convert to/from, you can run ffmpeg -formats to get a full human-readable list.
Trimming video
Let’s say I want only the time duration range of 1:23 to 3:12 for a task I’m trying to do. ffmpeg can help you do it in a single line.
ffmpeg -ss 00:01:23 -to 00:03:12 -i ffmpeg_video_no_copyright.mp4 -c copy clip.mp4
In this command, -ss will tell ffmpeg where to begin cutting the video, while -to will tell it the end-point. The -i flag indicates the input file, and the -c flag tells it whether it should cut the original video itself or make a copy of the file and make changes to that.
Extract frames from video
If we want to extract frame ranges instead, we use the following command:
ffmpeg -i ffmpeg_video_no_copyright.mp4 \
  -vf "select='between(n,200,1100)',setpts='PTS-STARTPTS'" \
  -af "aselect='between(n,200,1100)',asetpts='PTS-STARTPTS'" \
  -c:v libx264 -c:a aac clip_by_frames.mp4
This is a bit more complex because we use a “filter”. Consider it similar to a custom function defined to manipulate audio/video streams. Here, we take our input video, we perform a full decoding of the video, we pass it through a -vf, which is a video filter that tells ffmpeg that we would like to select between frames 200 to 1100. We do the same for our audio using the -af flag for an audio filter that tells ffmpeg that we would want to cut our audio between the same frames. Following that, we re-encode our cut using the x264 encoder for video and the aac encoder for audio. Lastly, we ask it to name the video clip_by_frames.mp4.
Create a GIF from a given frame range
This is an example of chaining 2 video filters together. To do so, we use the following command:
ffmpeg -i ffmpeg_video_no_copyright.mp4 \
  -vf "select='between(n\,200\,1100)',setpts='PTS-STARTPTS',fps=10,scale=320:-1:flags=lanczos" \
  -loop 0 output.gif
Here, we will do the following things:
- Extract the frames we want to create a GIF of
- Reset the timestamps of those frames to start with the first extracted frame
- Set the
fpsto 10fps only - Perform a resizing of the frames from the original resolution to 320p (with the -1 letting
ffmpegfigure out the other dimension that would preserve the aspect ratio, andlanczosbeing the operator used for resampling) - Looping the video infinitely (this saves this choice as metadata that would tell any video player that the video must play indefinitely in a loop) using
-loop 0 - And finally, saving our output as
output.gif

Isolating audio in a separate file
Let’s say you need to extract audio from your video and separate it out from the video. To do that, we can use:
ffmpeg -i ffmpeg_video_no_copyright.mp4 \
	-q:a 0 \
	-map a \
	output.mp3
This will take our video, set up best-quality extraction, map the video’s audio stream to it, and then save the output as our filename.
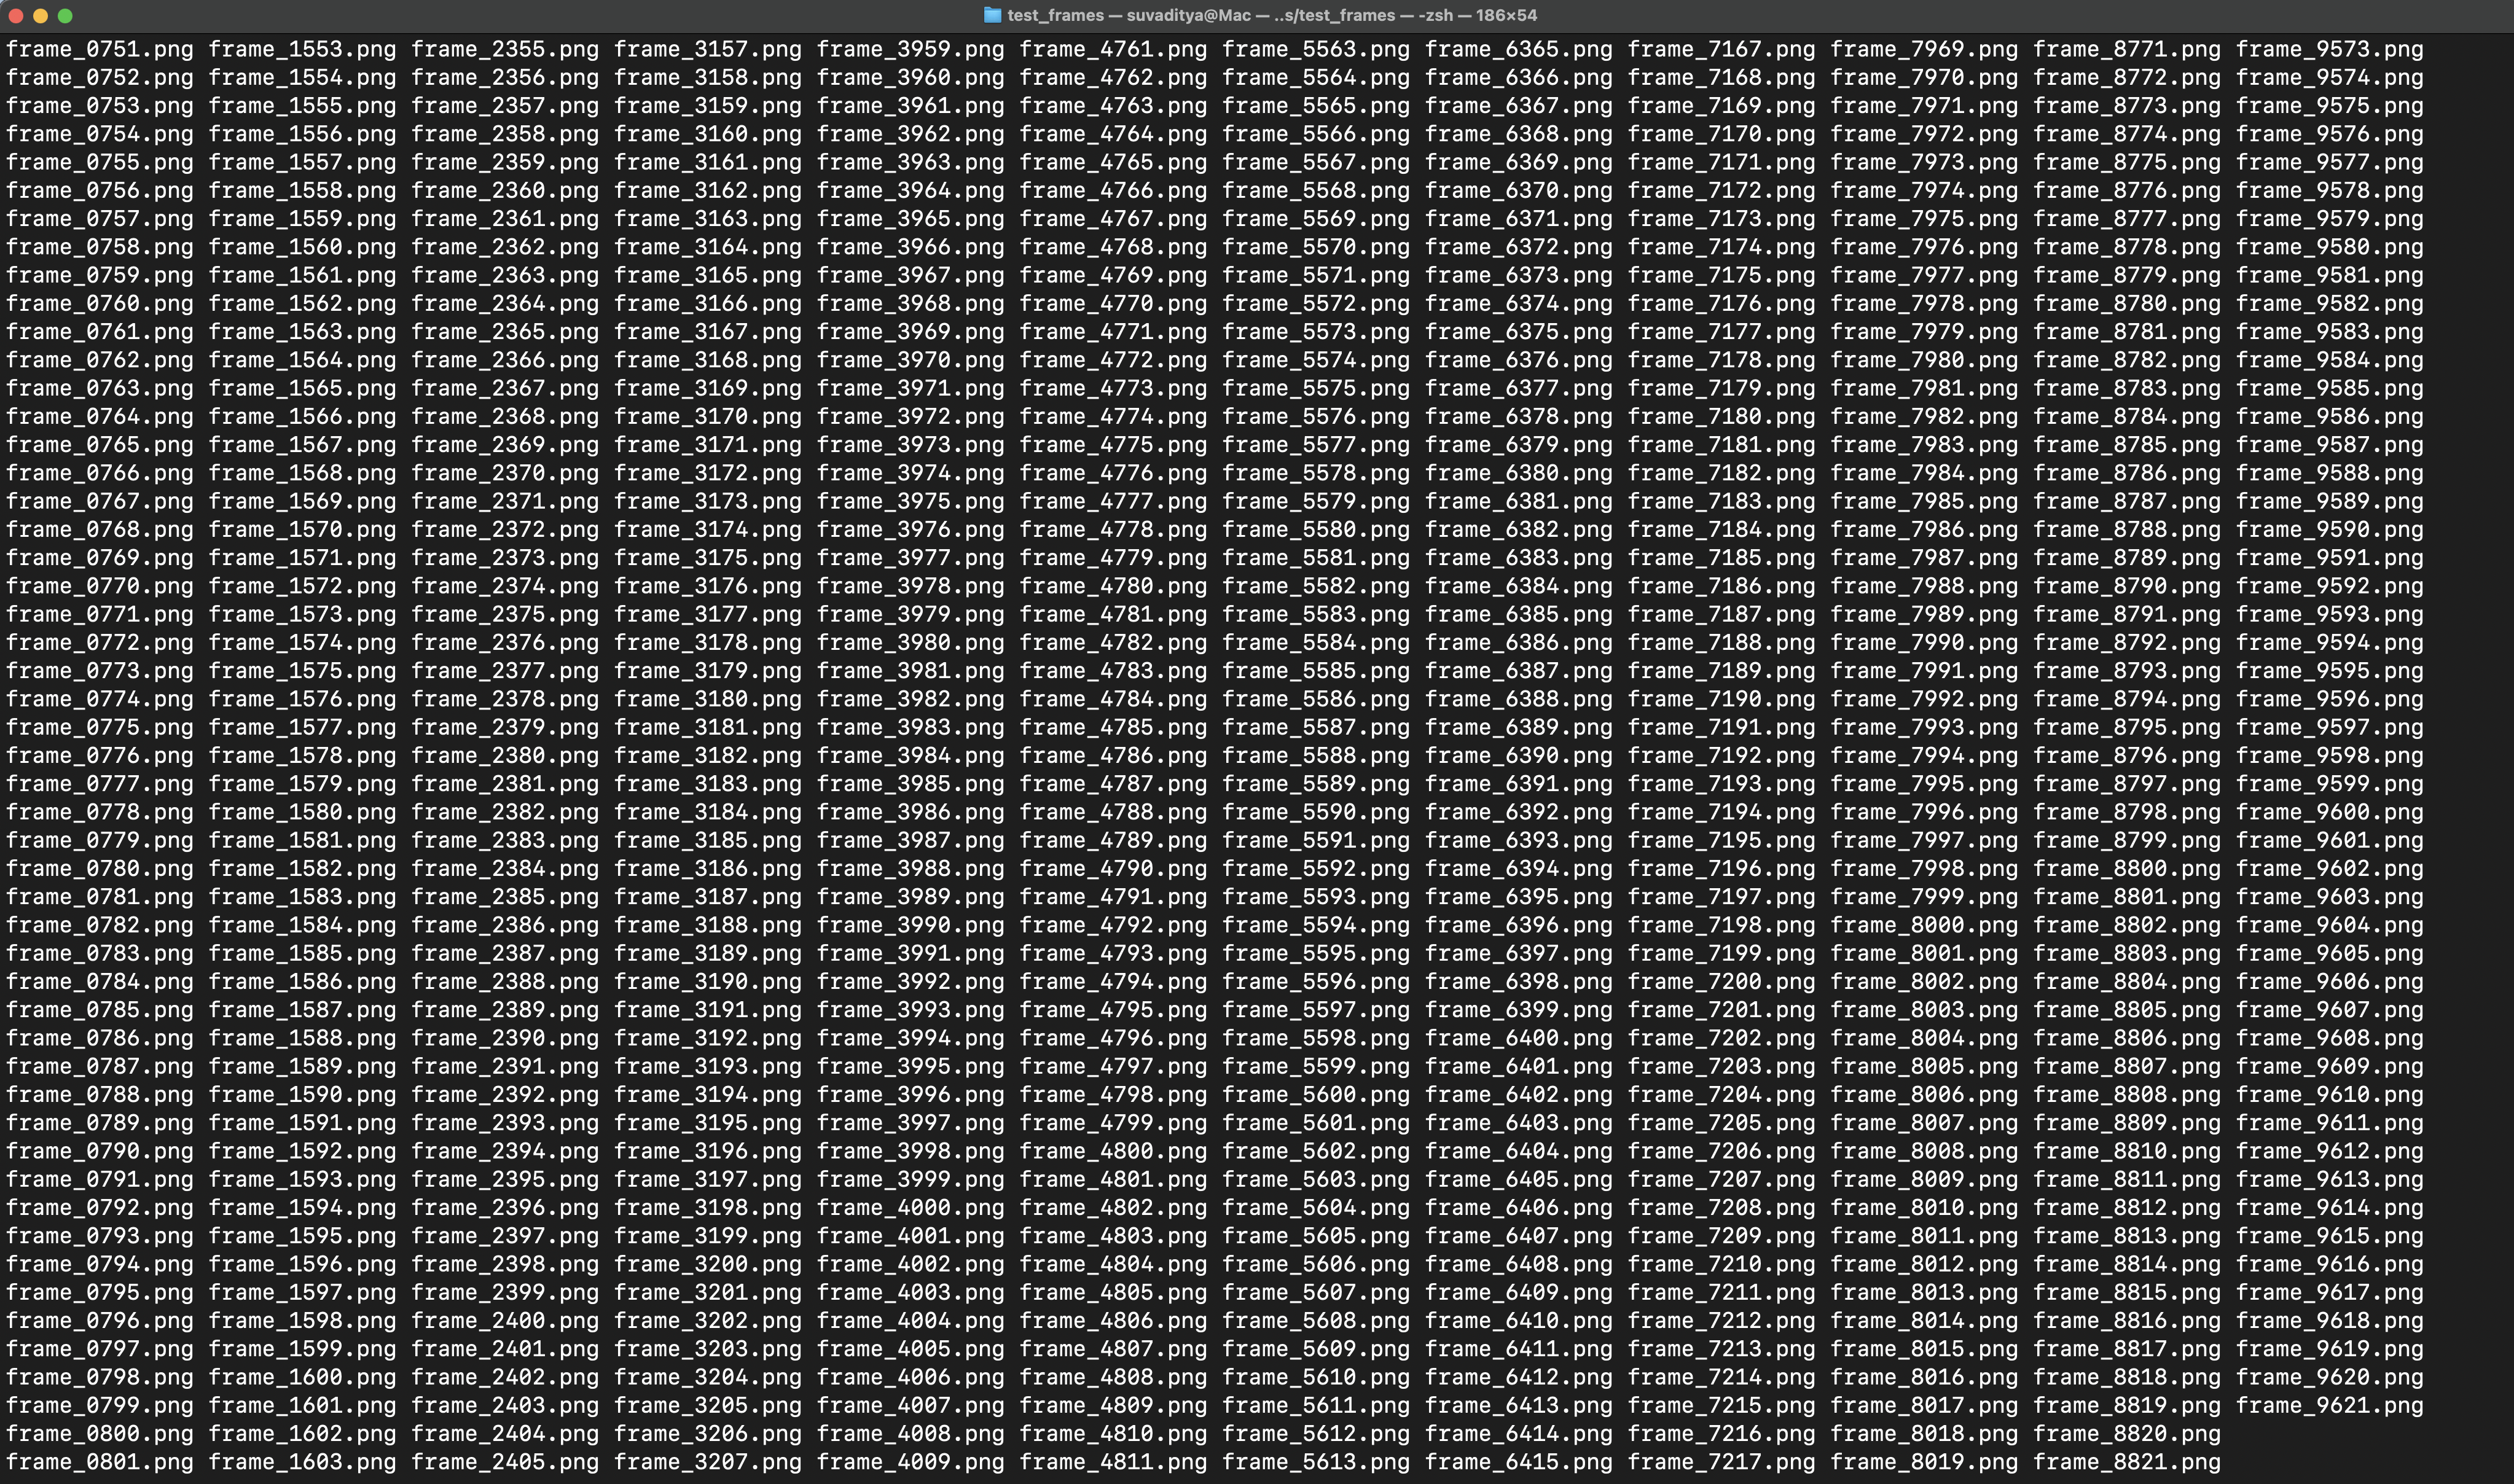
Converting video to image sequence
This converts a video to an image sequence that is saved in order of their frame number and in a template-filename of our choice. We can do this with:
ffmpeg \
  -i ffmpeg_video_no_copyright.mp4 \
  -start_number 0 \
  frame_%04d.png
This tells ffmpeg that it needs to use the input video, assign the start number of the sequence it extracts as 0, and name it according to “frame_%04d.png”, where it will name files as “frame_0001.png”, “frame_0002.png”, and so on.
Performing a Gaussian Blur on the full video
There are many reasons why one might choose to perform a Gaussian Blur on a given video. To do so, we can use the following command:
ffmpeg \
  -i ffmpeg_video_no_copyright.mp4 \
  -vf "gblur=sigma=10" \
  -c:a copy \
  output_blur.mp4
This tells ffmpeg to take the input video, perform a video filter of applying a Gaussian Blur with sigma=10 determining the strength of the blur, copying the audio stream as-is, and creating a new file called output_blur.mp4
Downscale resolution
Let’s say that your data is causing CUDA Out-of-memory errors. You need to reduce your video data resolution. But how do you plan on doing that easily in a single command for several videos together? Let’s start with a single video, and then do it for 2 videos together.
ffmpeg \
  -i ffmpeg_video_no_copyright.mp4 \
  -vf "scale=640:480" \
  -c:a copy \
  output_480p.mp4
This command tells ffmpeg to ingest our input video (that is originally 720p), apply a video filter to scale the video down to 640x480 (640 is what we calculate for preserving aspect ratio), copy our audio stream, and save it as “output_480p.mp4”. Easy enough?
We can do this again for several videos together by using some bash magic:
for f in *.mp4; do
  ffmpeg -i "$f" \
    -vf "scale=640:480" \
    -c:a copy \
    "${f%.mp4}_480p.mp4"
This will iterate over all files in the given folder, convert them from their original resolution to 640x480, copy their respective audio stream, and save the file with an extension of “filename_480p.mp4”! Long Python scripts no more.
Concatenate video clips temporally
Let’s try to attach our same video back-to-back three times into one single video. To do this one, we will try to be more efficient and avoid re-encoding. This can be done with the following command:
ffmpeg \
  -i ffmpeg_video_no_copyright.mp4 \
  -i ffmpeg_video_no_copyright.mp4 \
  -i ffmpeg_video_no_copyright.mp4 \
  -filter_complex \
    "[0:v:0][0:a:0][1:v:0][1:a:0][2:v:0][2:a:0]concat=n=3:v=1:a=1[outv][outa]" \
  -map "[outv]" -map "[outa]" \
  -c:v libx264 -c:a aac \
  joined.mp4
There’s a lot going on in this command. Trying to break it down, we do the following one after the other:
- Take 3 input videos
- Apply a “complex filter” that places the first video first starting from frame 0 and audio from the first video with it, then the second video and its corresponding audio, and finally the last video and its corresponding audio. We use
concatto tellffmpegthat we are concatenating 3 video streams into a single video and audio stream, and labelling those streams asoutvandoutarespectively. - We map
outvandoutaover the x264 encoder for our video stream and aac for audio stream - Finally, we save the video as joined.mp4
Visually play 2 video streams side by side
There are many times when we have 2 output videos that we want to compare side-by-side (either to present, or just to compare on your own). One quick way to do that is to use ffmpeg to simply stitch both videos into a single video together side-by-side horizontally. To do that, we can use the following command:
ffmpeg -i ffmpeg_video_no_copyright.mp4 \
  -i ffmpeg_video_no_copyright.mp4 \
  -filter_complex "hstack=inputs=2" \
  -c:v libx264 stereo.mp4
This will take both videos as separate input streams, perform a horizontal stacking operation, encode the result stream using the x264 encoder, and save the output as our chosen filename.
Play 4 video streams in a 2x2 grid
Lastly, let’s extend from just a simple 2x1 to a bigger 2x2 grid which gives you the groundwork to also combine more videos into complex grid sizes. We use the following command:
ffmpeg \
  -i ffmpeg_video_no_copyright.mp4 \
  -i ffmpeg_video_no_copyright.mp4 \
  -i ffmpeg_video_no_copyright.mp4 \
  -i ffmpeg_video_no_copyright.mp4 \
  -filter_complex "\
    [0:v][1:v]hstack=inputs=2[top]; \
    [2:v][3:v]hstack=inputs=2[bottom]; \
    [top][bottom]vstack=inputs=2[out]" \
  -map "[out]" \
  -c:v libx264 -preset veryfast \
  -c:a copy \
  output_2x2_grid.mp4
Again, there’s quite a few things we do here. In a sequence:
- We take 4 videos as input. Ensure they are of the same resolution and duration.
- We stack the first 2 videos horizontally, and name that stream as “top”
- We stack the next 2 videos horizontally, and name that stream as “bottom”
- We vertically stack the “top” and “bottom” streams together into a single one called “out”
- We apply the x264 encoder (with a
veryfastpreset that gives us faster encoding at the cost of lower compression and larger file size) - We copy the audio as-is
- Finally, we save the output video as our given filename.
This was a quick overview over some of the most common operations for audio-video data processing that one would generally do with ffmpeg.
As a personal note, I like to also take help from Gemini/ChatGPT to compose several options together in the most efficient way possible. A single flag can sometimes cut your processing time down by half!
Supercharging with CUDA support
All of what we saw did not need explicit support for CUDA at all. But we can speed things up a lot with the use of CUDA acceleration. To do so, we need to take the extra step of compiling ffmpeg from source. It is not as daunting as it seems, and is a very well-documented process. Once that is done, making a few changes in our commands can help ffmpeg leverage direct CUDA acceleration to “supercharge” our processing!
Some important links for doing so are:
- FFmpeg official documentation for Download
- NVIDIA official documentation for installing FFmpeg [Updated as of July 23rd, 2025]
Closing Thoughts
ffmpeg is a Swiss knife that needs to be a regular toolkit in every Vision ML Practitioner’s toolkit. It can speed up any workflow several times over a standard Python process, and does not explicitly require a GPU unlike several other image/video/audio processing tools.
There have been some crazy and weird projects that I have come across, that utilize ffmpeg and its powerful filter ecosystem. Some of them are:
1) OCR using tesseract! 2) Burn subtitles/watermarks into video 3) Play Conway’s Game of Life?
I hope this has been a great journey, and will help you as a reader to try out this tool. May the acceleration gods bless your journey and keep you away from OOMs.
Citation Information
@misc{Mukherjee_2025b,
  title={FFmpeg for the Young and Restless},
  url={https://suvadityamuk.com/posts/2025/7/ffmpeg-young-restless/},
  website={suvadityamuk - Personal Website of Suvaditya Mukherjee},
  publisher={Suvaditya Mukherjee},
  author={Mukherjee, Suvaditya},
  year={2025},
  month={Jul}
}
Through torchcodec ↩
This video you see is not AVI. HTML5 doesn’t exactly allow AVI to play on the internet, so what you’re seeing is a MP4/webm version. See the original AVI here ↩